

Product Photography
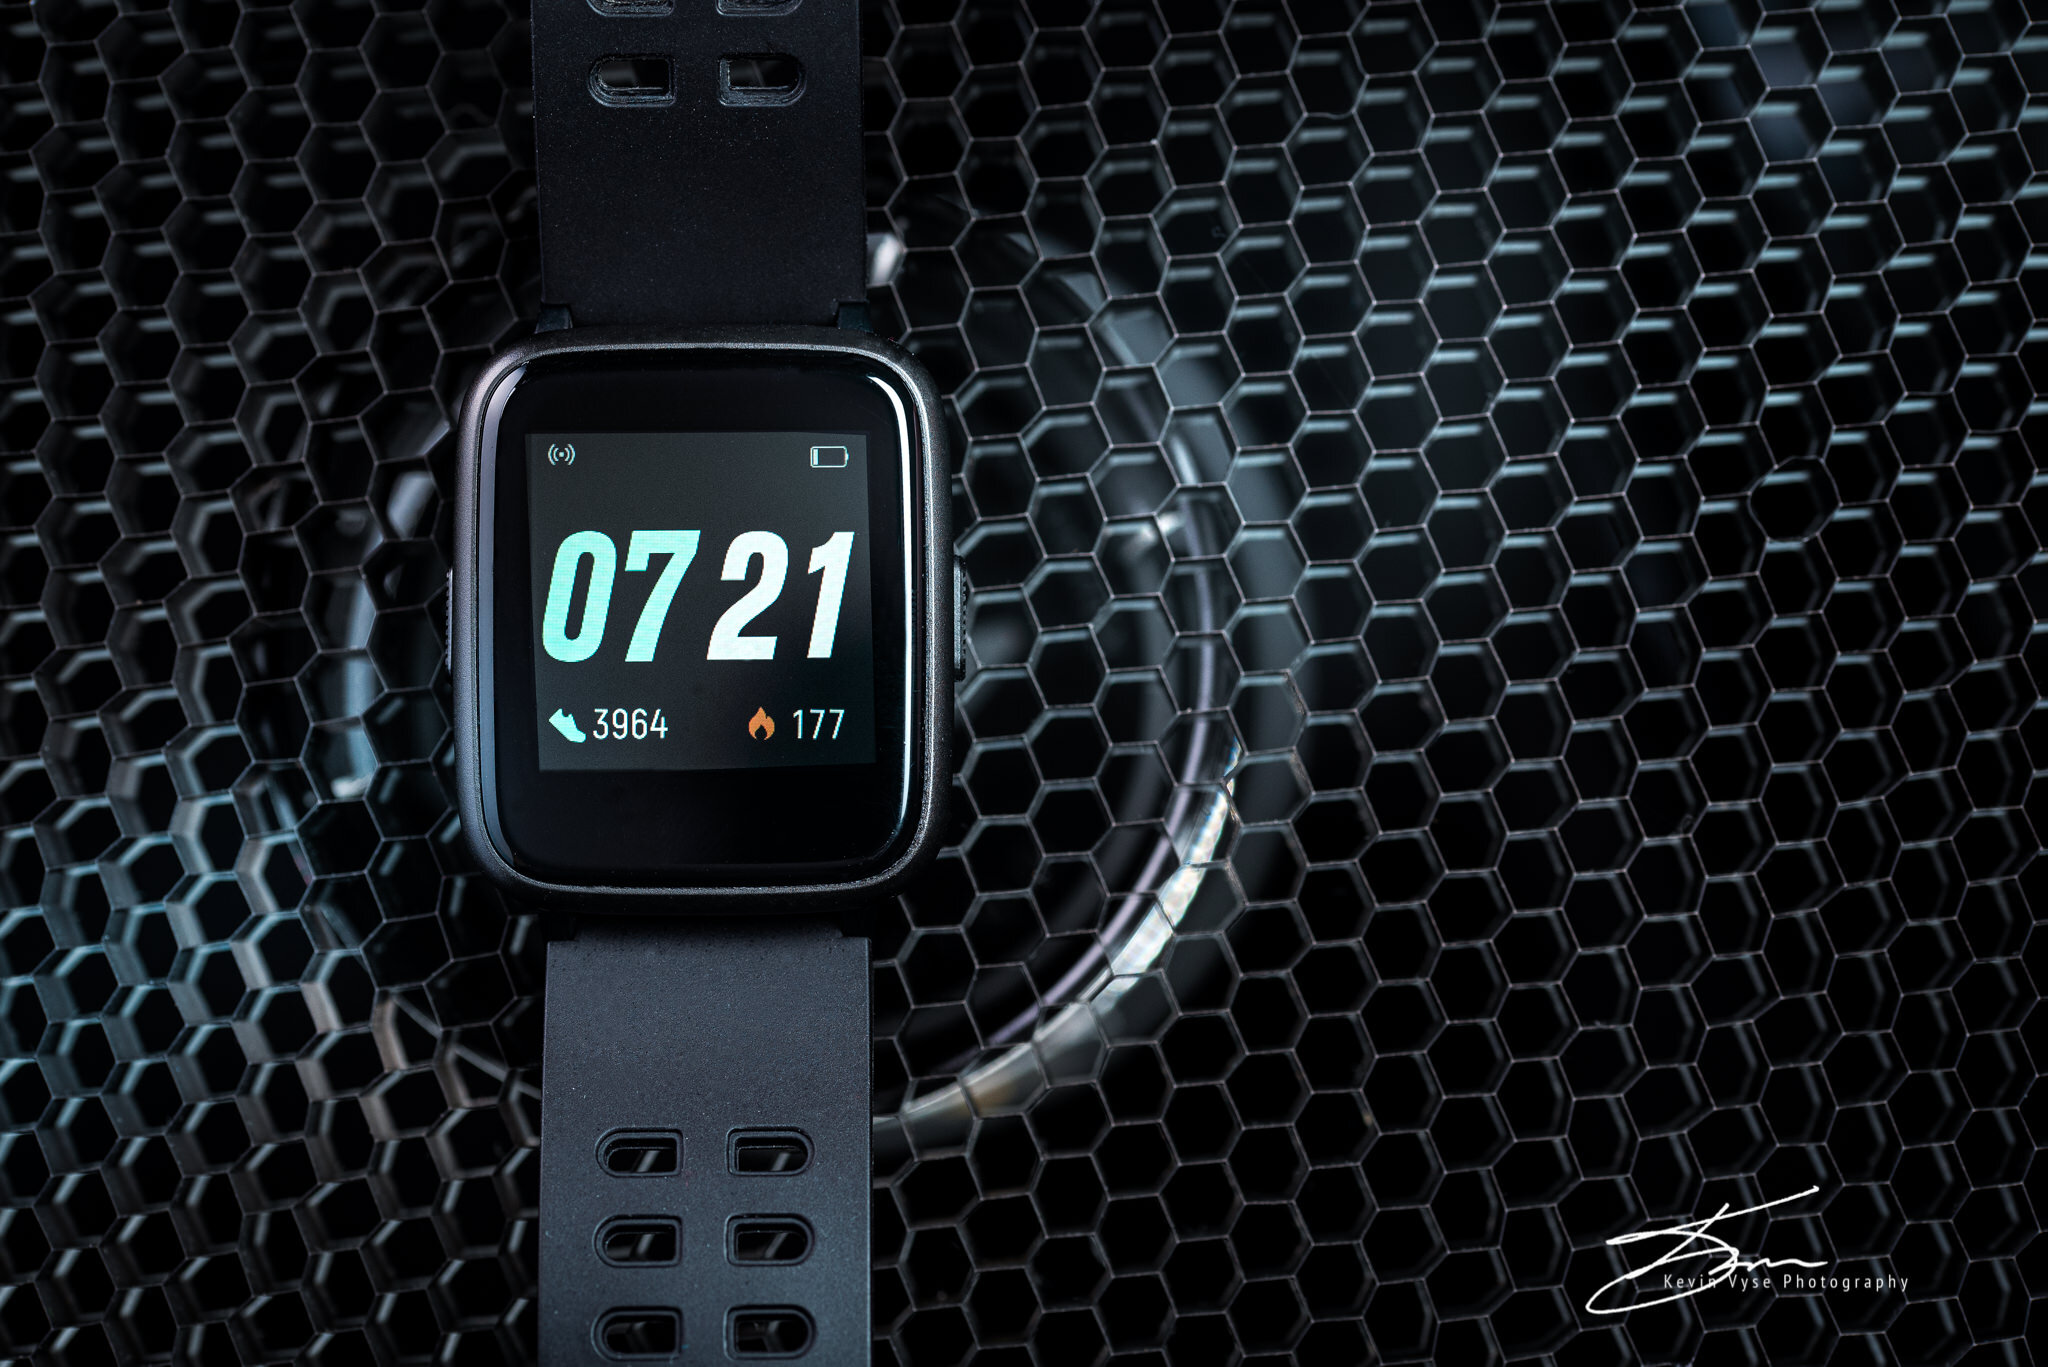
As you may have noticed, if you follow my socials, that there has been a major increase in images of Coffee and Beer and Watches as well as other kinds of products. Product photography has been something that has intrigued me for quite some time.. there’s a lot of “tricks” in product photography which can make it very hard to learn because these tricks take a long time to master and learn. Covid put a HUGE damper on photography, just like it’s put a damper on a lot of things in 2020 and this led to a lot of down time in the photo world for me. As you know I shoot a lot of concert photography as well and with concerts being almost non-existent, I needed to keep my skills in check some how, so product photography it is.
Winter is here (even though it’s 17ºC out right now and full sunshine), and that means photography is at another stand still as I don’t own a studio that makes it a lot harder to shoot. Products can be done at home in a small space so this is perfect for me. A challenge with product photography is, well…. getting product! starting out you have to spend some cash, you need to go out and buy products to shoot. Think hard about what kind of product you want to shoot: Watches, Cologne/Perfume, Foods, House Hold Items, Camera Gear, Coffee, Beer etc… there are tons to choose from. I’m bad for wanting to get good at everything, so start shooting everything and apparently this is bad for the Instagram world as viewers tend to get confused on what your “thang “ is…. I mean, why can’t my thing be everything?!
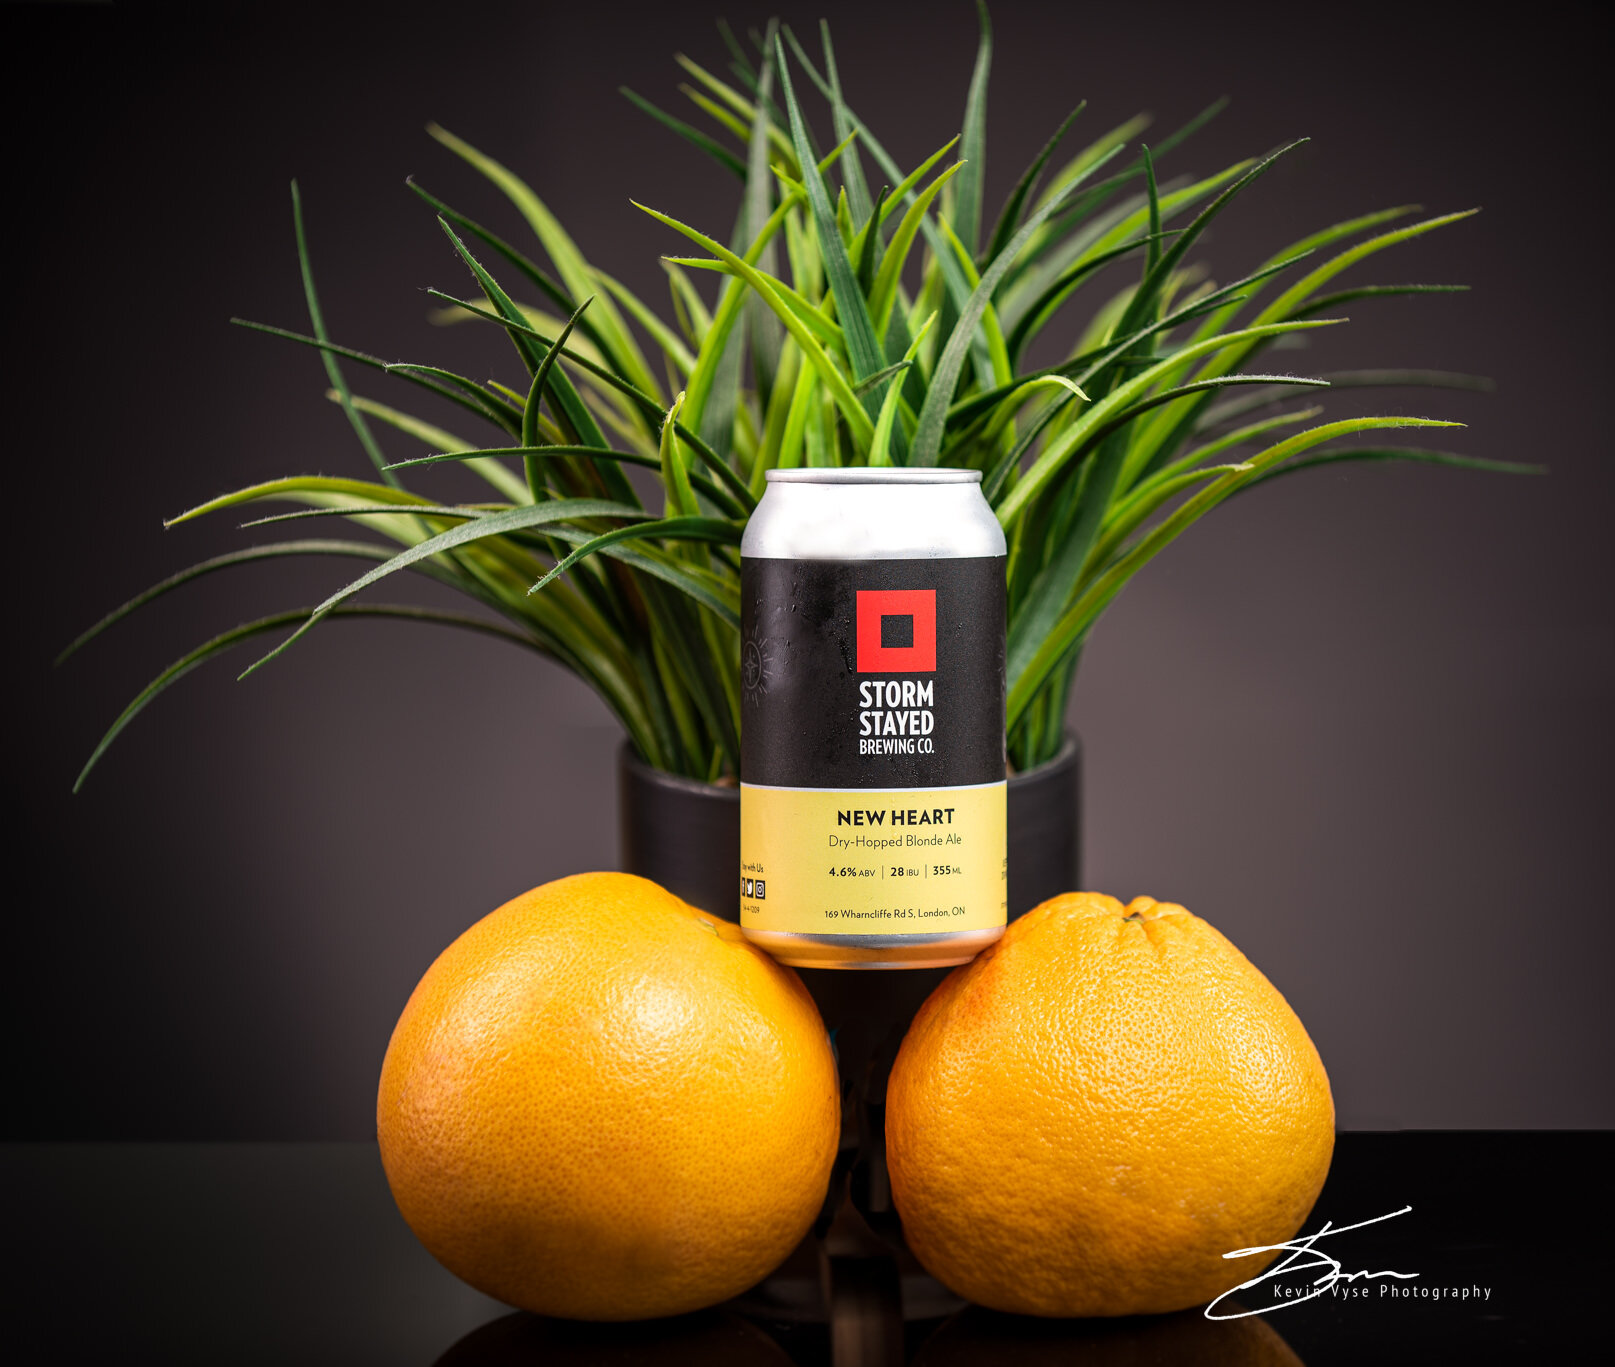
Some of you might have seen my newest venture on Instagram is called @BeansandHopps a page based on 3 of my loves, Coffee, Craft Beer and Photography! This is all product photography and content creation and it’s all shot at me leisure in my bedroom lol. I have a small space maybe 6’x6’ where I get all this done. When deciding on your product area of focus, take into consideration what I mentioned before… “at first you have to buy your own product”. This is important because products are expensive.. some more than others. If you choose Camera Gear, or Watches or Tech …. that stuff costs so much money that trying to keep your content flowing will break the bank! Now there are some ways around this.. and i’m sure they are frowned upon by some companies but ……. you go out or online, you buy the product, you photograph it then you return it and get your money back. MAKE SURE YOU CHECK THE RETURN POLICIES or you’re getting stuck with a nice bill and this will only work for a few products from the same place, they will catch on and you won’t be able to keep going with it.
YouTube is a great place to learn product photography, the internet is loaded with tutorials and soon I hope to jump on the old band wagon and start doing some tutorials and bringing you all along on some shoots, but first I have to move! Yep moving to a new small town and to a small apartment, so the challenge of trying to do product shoots might get even harder with such a small space! back to YouTube, lots of ways to learn, you have the ability to watch product photographers shoot and teach and you can even learn some of the product “tricks” I was talking about on there. Next big thing you need to learn is lighting! because you’re working in a “studio environment” light is hard to come by so you need to make your own. This requires studio strobes, or Speedlights, me personally, I use speedlights… they get the job done, they are small for small spaces, you can adjust the power output on them and they make modifiers for them to help control and diffuse the light output. I use the Yonguo 560 IV set up as you can control the flash power right from your camera and don’t have to run around to each flash to adjust the power, makes life a lot easier. Yongnuo are great flashes, hold up well, last long and they are pretty inexpensive for such good flash units, the flash power output isn’t always consistent with them but a few little adjustments in photoshop, which you’re probably going to do anyways is all it takes.
Next up, Modifiers… you need these to help control where the light goes and soften the light. Strip Boxes, Octaboxes, Beauty Dishes are all very important. Umbrellas can work as well, but I feel these are kind of old school I have some but never use them, but they will definitely work and are a cheaper way to go. You can light a lot of things with just one light and you will get some great results… here’s some examples of one light making some drinks look great!

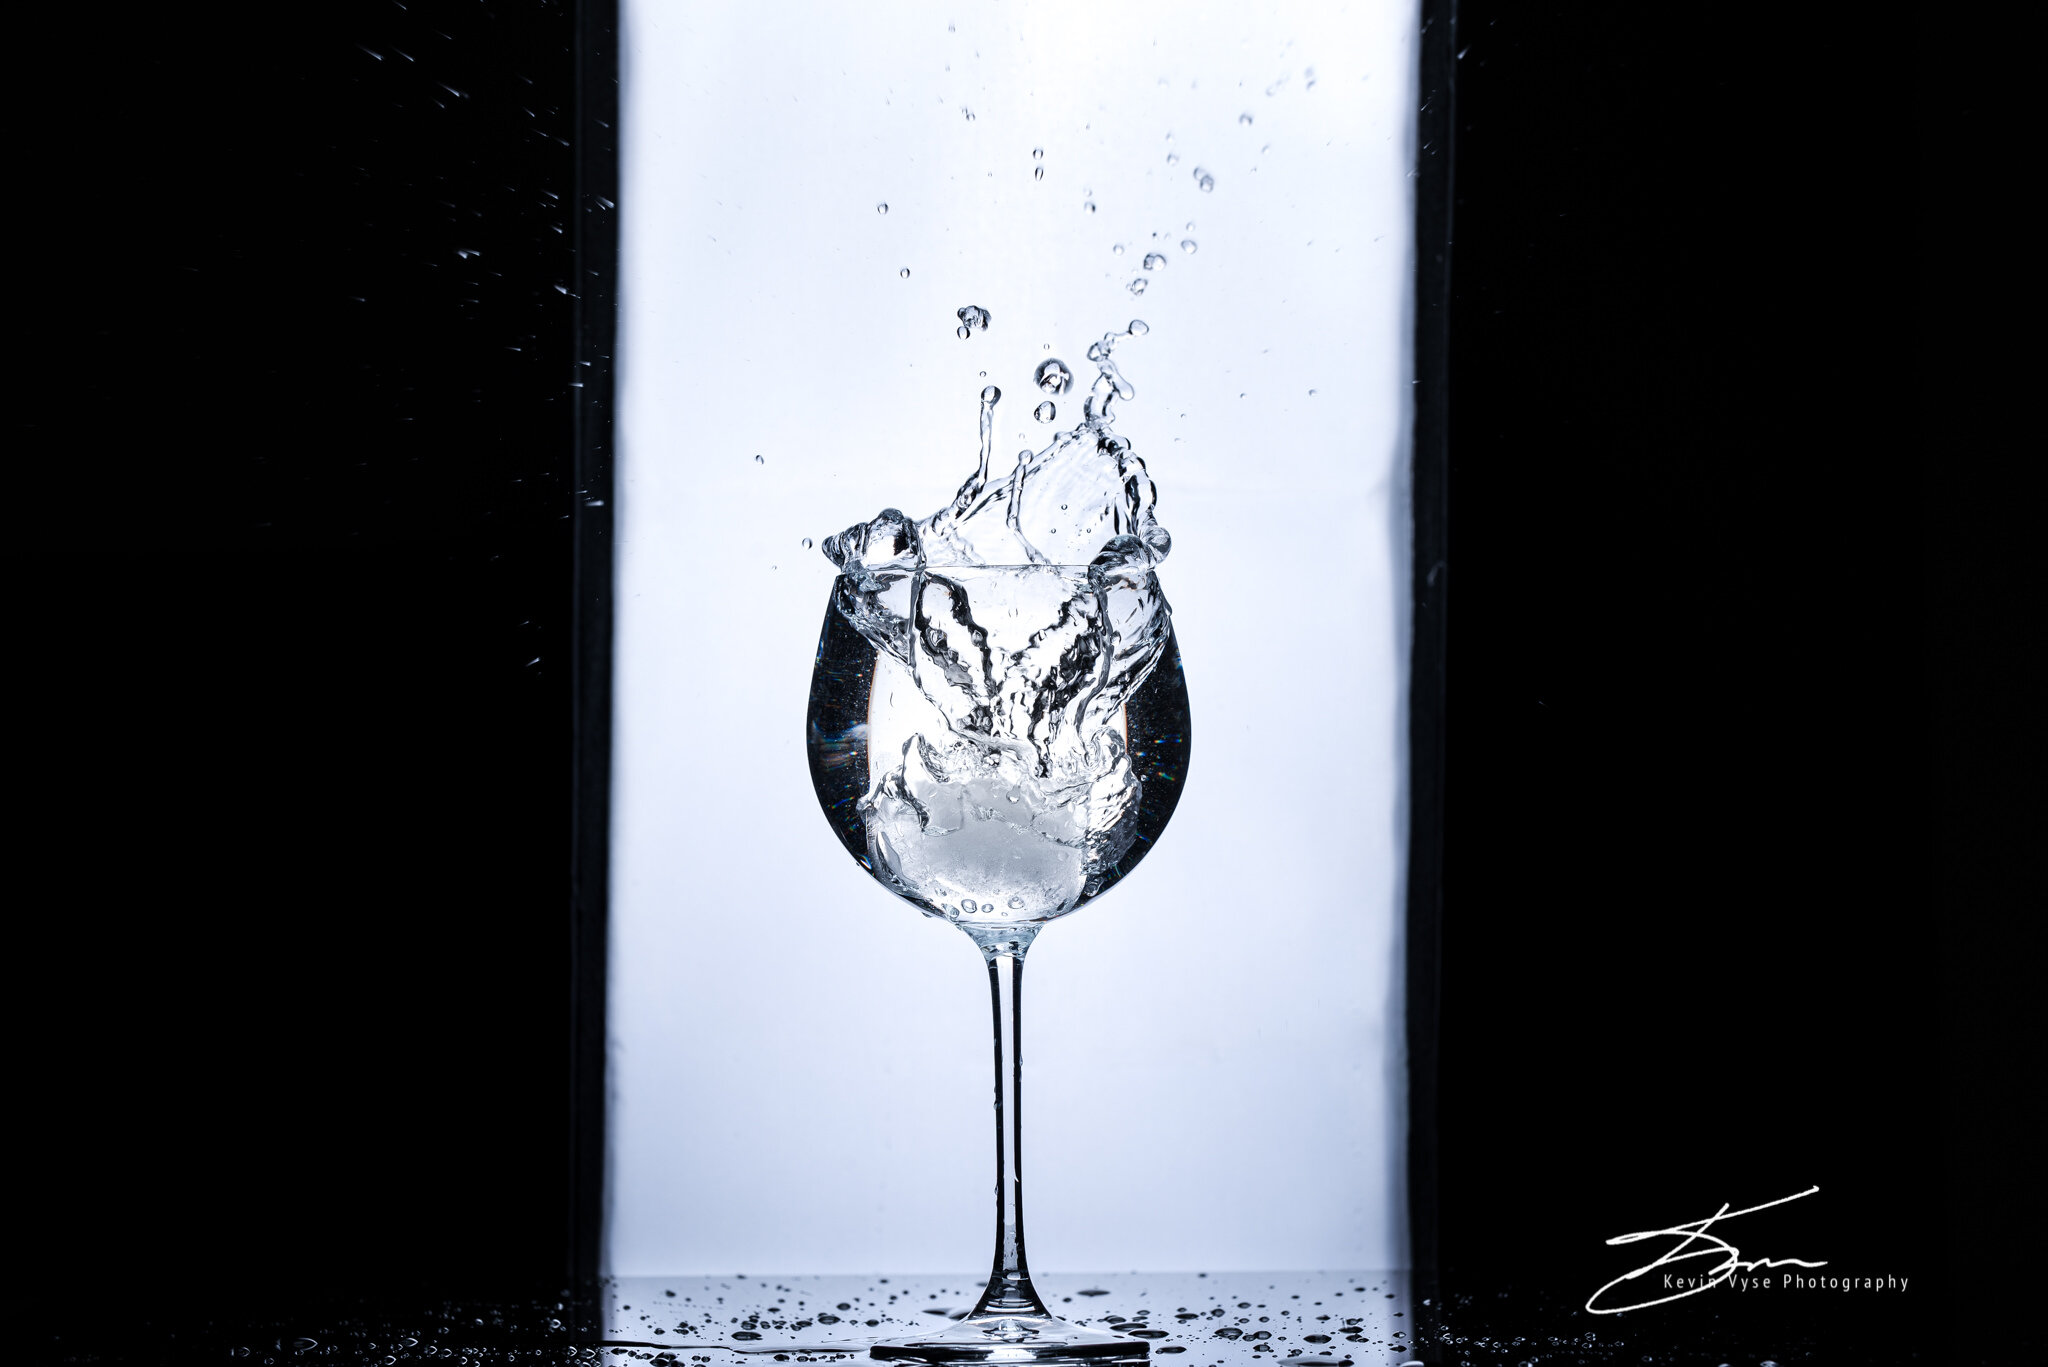
One light can do a lot, it’s effective… and that’s all done with one Speedlight and one Stripbox so as you can see it’s very effective. More lights becomes more challenging because each light needs to work with the other lights to shape the product and you have to make sure the multiple lights aren’t overpowering each other to much or adding to much light to the entire product and washing it out. Multiple lights are very useful though and a lot of times that’s how you get images to look “ Like a Pro”. There are lots of techniques used with light to get the final image: Light Painting, Image Stacking etc… those are something maybe i’ll cover another time, for now you can google those there’s so much info on them on the interwebs. If you can though.. get at least 3 lights and 3 modifiers. I’d go with two strip boxes and one Octabox.. that’s my go to set up, pretty much everything you see from me i’m using that exact set up, their shapes really help me do my thing. Learn Flash Power, Flash to Subject distance and the Inverse Square Law, Feathering Light, Lighting Setups…. Now for the hard stuff.. reflective surfaces… Glass, Metals, Plastics… these all reflect light an insane amount and that means whatever light you point at them you are going to see “hot spots”. Hot spots are where the lights intensity is the “hottest” and will show up on your product.. this is where “feathering the light will come in handy. Also.. scrims.. I use scrims to filter the light even more putting it inbetween the light source and the product, this makes the light softer and will put a nice highlight on the product. Light position will also make a HUGE impact. Ok this post is getting quite long and I know you’re not going to read all of this so i’m going to stop here and once I get some tutorials up and going on YouTube I will share a link or blog on here for you… for now.. take a look at some of the product stuff I’ve been doing over the last few weeks.
CRRJU Watches


Renaissance Festival!
WOW! it has been far to long since i've done a blog post, this must change.
Smashing lances, crowds cheering, beer drinking, pig roasting, sword fighting and much much more! This was my experience today as I attended the 2014 Woodstock Ontario Renaissance Festival. This event was pretty amazing, with so much to see, from fire breathing to catapult slinging, archery, sword fights and Knights upon their steeds hitting each other with 10 foot wooden lances. When I showed up, the first thing I saw was 3 people dressed up in proper old time attire in a barn with Fire Batons spinning around their bodies, being balanced on their heads while another woman twirled around on a hula hoop type contraption hanging from the ceiling, it was quite impressive.
I continued onward to the grand stand where I heard the crowd yelling and clapping, of course I had to hurry to see what the ruckus was about. JOUSTING was about to commence! An announcer came out on a horse wearing quite the outfit and explaining what we were about to see and gave us the run down on how scoring for Jousting worked. Next rode out one of the knights, an older looking fellow with shiny armour. Then another knight came out, apparently they were father and son, who would think a father and son were about to joust one another, but thats what happened! 5 bouts took place with some real hard hits, one being dishorsed, chunks of wood flying through the air... men and women running through the crowd crying and screaming.... ok ok... that last part didn't happen, but in my weird over active mind it did lol.
Here's some of my images from the day... I was only there for about an hour so I didn't get to see everything they had to offer. At some point there were sword and axe fights, some falconry and bands. There's still time, I may go back. - Shutter Click~
© Kevin Vyse Photography
All rights reserved 2014
Fire Blower getting a flame to burst off the end of the baton.
© Kevin Vyse Photography
All rights reserved 2014
Lance smashes to pieces as the knights connect on horseback
© Kevin Vyse Photography
All rights reserved 2014
Another hard hit from the knights shattering the lances... the knight in blue was actually dishorsed with this hit.
© Kevin Vyse Photography
All rights reserved 2014
First Knight came out and put his helmet on, then proceeded to ride right up to me for a close up photo op
© Kevin Vyse Photography
All rights reserved 2014
After jousting a crowd gathered on the grass as a bagpipe and drum band rocked out some tunes to promote their show later tonight. Braveheart style!
Kevin Vyse Photography Blog:
Keep up to date with every shoot from Families to Concerts, Weddings to Travel. Day to day shoots all broken down into how I it went, behind the scenes, and my thoughts through the shoots.